How to Setup your E-mail Account - Apple iPhone
This tutorial will walk you through setting up your Earthnet email account on your iPhone.
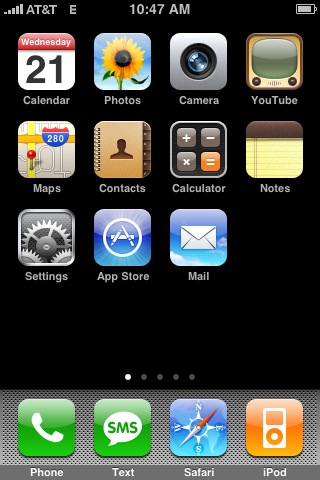
1 - Tap the Settings icon.
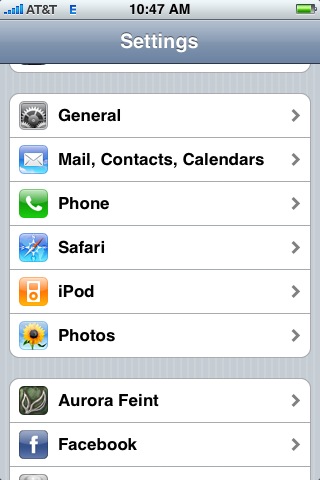
2 - Tap on 'Mail, Contacs, Calendars'
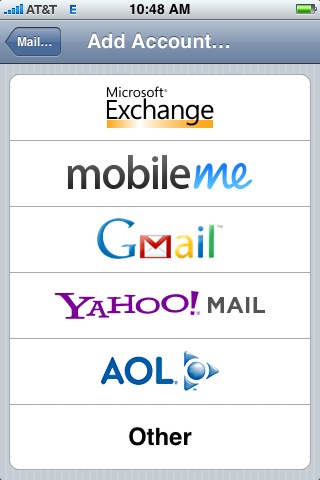
3 - Tap on 'Add Account...'

4 - Choose 'Other'
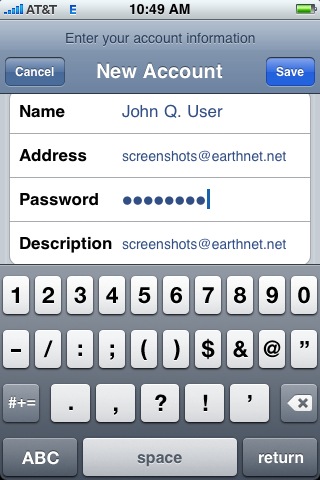
5 - Enter your information:
- Enter your name under 'Name'
- Enter your full email address under 'Address'
- Enter your email password under 'Password'
6 - You can choose either IMAP or POP.
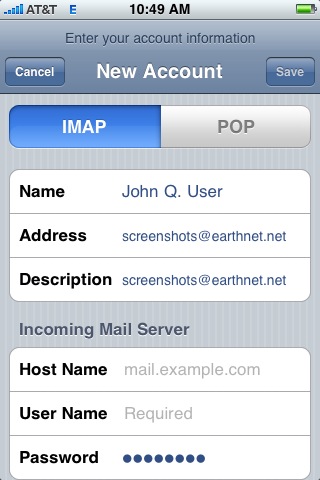
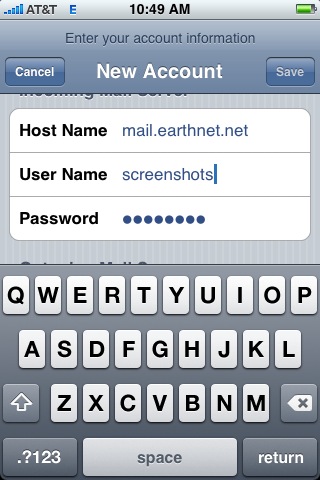
7 - Enter the incoming mail server information:
- Enter mail.earthnet.net under 'Host Name'
- Enter your Earthnet user name under 'User Name'
- Enter your Earthnet password under 'Password'
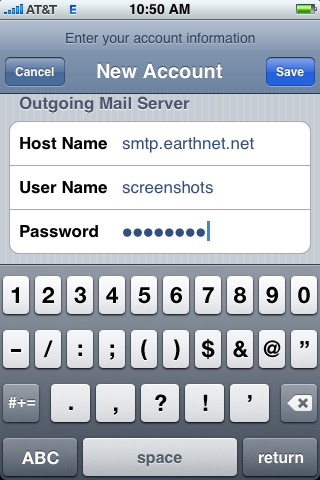
8 - Enter the outgoing mail server information
- Enter smtp.earthnet.net under 'Host Name'
- Enter your Earthnet user name under 'User Name'
- Enter your Earthnet password under 'Password'
9 - Tap 'Save' at the top of the screen.
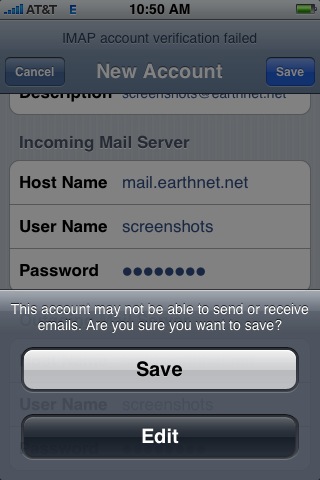
10 - A window will pop up saying 'Secure Connection Failed', choose 'Cancel':
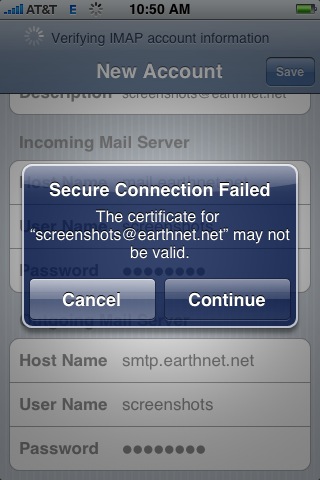
11 - Tap 'Save' again and you'll get another dialog like the picture. Tap 'Save':
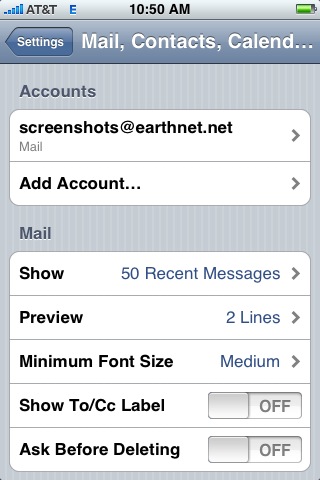
12 - This will take you back to the general mail settings. Now tap on the mail account that you just created:
13 - Scroll down to the bottom and tap on the outgoing mail server settings:
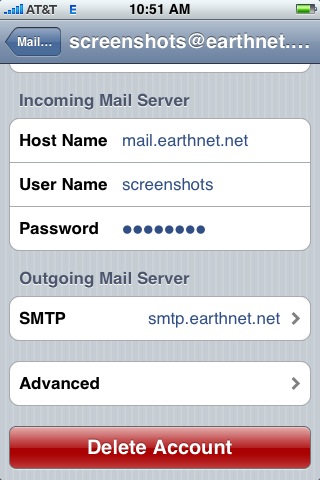
14 - Tap on 'smtp.earthnet.net' under 'Primary Server':

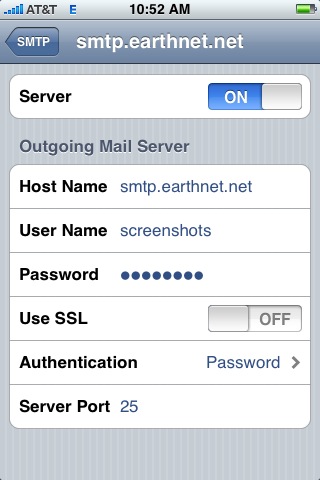
15 - Make sure that:
- 'Use SSL' is set to 'OFF'
- 'Authentication' is set to 'Password'
- 'Server Port' is set to '25'
Tap the Back button twice to return to the mail settings.
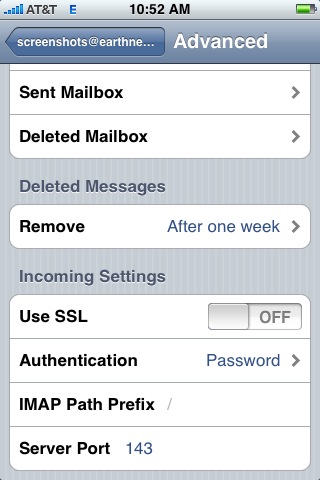
16 - Tap 'Advanced' at the bottom to go to the advanced settings.
Under 'Incoming Settings' make sure that:
- 'Use SSL' is set to 'OFF'
- 'Authentication' is set to 'Password'
- 'Server Port' is set to '143' (if you picked IMAP) or '110' (if you chose POP)
17 - Phew! You're done! Enjoy sending and receiving email from your iPhone!